How to Successfully Organize a Community Service Event: A Step-by-Step Guide
Learn how to plan and execute a meaningful community service event that brings people together and makes a real difference. This comprehensive guide covers everything from choosing a cause to celebrating success.
4 min read

Overview
Organizing a community service event can strengthen your neighborhood, build lasting connections, and create positive change. Whether you're new to volunteering or experienced, this guide walks you through every step to make your event successful and rewarding.
Community service events bring volunteers together to help those in need. They range from one-day cleanups to ongoing programs. Many people discover service learning through these events—gaining new skills while giving back.
Why Organize a Community Service Event?
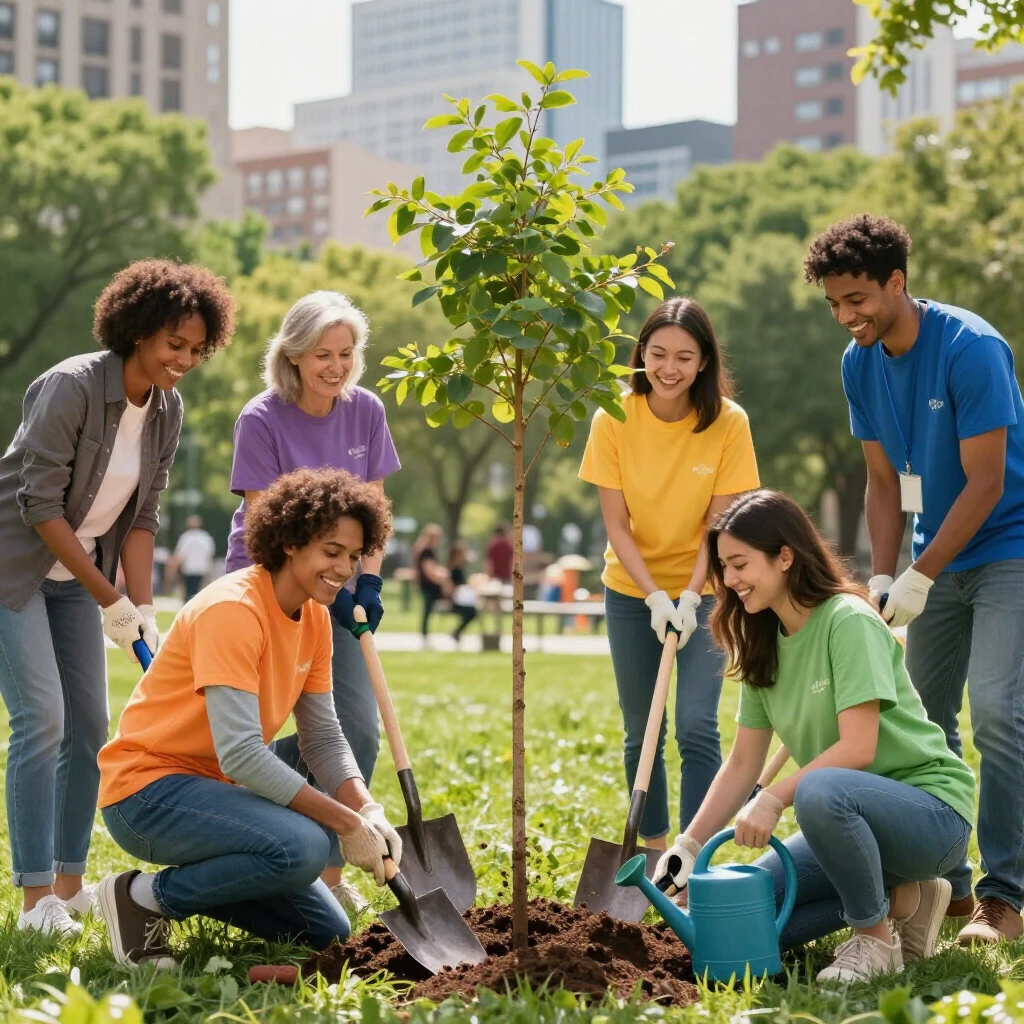
People organize these events for many reasons. You might want to address a local issue, like cleaning a park or collecting food for families. Others do it to build team spirit at work or school.
From my experience leading several events, the best ones start with a clear purpose. One time, our group focused on litter pickup after noticing trash piling up in our local river. That simple goal motivated over 50 volunteers to show up.
Service learning plays a big role too. Volunteers don't just help—they learn about environmental issues, teamwork, and empathy. Kids especially benefit when they see the direct impact of their actions.
Step 1: Choose Your Cause
Start by identifying a real need in your community. Talk to neighbors, local nonprofits, or city officials. Ask: What problems do people face here?
Popular ideas include: - Park or beach cleanups - Food drives for pantries - Tutoring sessions for students - Building repairs for elderly residents - Fundraising walks for health causes
Pick something manageable for your first event. I once tried organizing a large clothing drive without enough storage space—it taught me to match the project to available resources.
Step 2: Set Clear Goals and Timeline
Decide what success looks like. Do you want 20 volunteers? Collect 500 pounds of food? Write specific, measurable goals.
Create a timeline working backward from the event date. Give yourself at least 6-8 weeks for planning. Key milestones: - 8 weeks out: Finalize cause and partners - 6 weeks out: Secure location and permits - 4 weeks out: Start recruiting volunteers - 2 weeks out: Confirm supplies and schedule
Use free tools like Google Docs or Trello to track progress. Share the plan with your core team so everyone stays on the same page.

Step 3: Build Partnerships
Don't go it alone. Partner with local organizations that already serve your cause. They can provide expertise, supplies, and credibility.
Reach out to: - Nonprofit groups (e.g., food banks, environmental organizations) - Schools and universities - Businesses for sponsorships - Faith-based communities - City government offices
In one event I organized, partnering with a local Rotary club brought in funding for gloves and trash bags. Those connections often lead to future opportunities too.
Step 4: Recruit Volunteers Effectively
Volunteers are the heart of any community service event. Start recruiting early and use multiple channels.
Effective ways to find volunteers: - Social media posts on local Facebook groups - Flyers at community centers and libraries - Email newsletters from partner organizations - Word-of-mouth through friends and family - Platforms like VolunteerMatch.org
Make your message personal. Instead of "We need help," say "Join us to make our park beautiful again—families welcome!" Always include date, time, location, and what to bring.
From experience, offering flexible roles helps. Some people prefer behind-the-scenes tasks like sorting donations, while others want hands-on work.
Step 5: Handle Logistics Smoothly
Logistics can make or break your event. Create checklists for everything.
| Category | Key Items to Arrange |
|---|---|
| Location | Permits, backup rain plan, accessibility |
| Supplies | Gloves, bags, tools, water, snacks |
| Safety | First aid kit, sunscreen, waiver forms |
| Communication | Sign-in sheets, name tags, group photo plan |
| Transportation | Parking info, carpools if needed |
Budget wisely. Many items can be donated—ask local stores for water or snacks. Keep track of expenses and thank donors publicly.
Step 6: Promote Safety and Inclusion
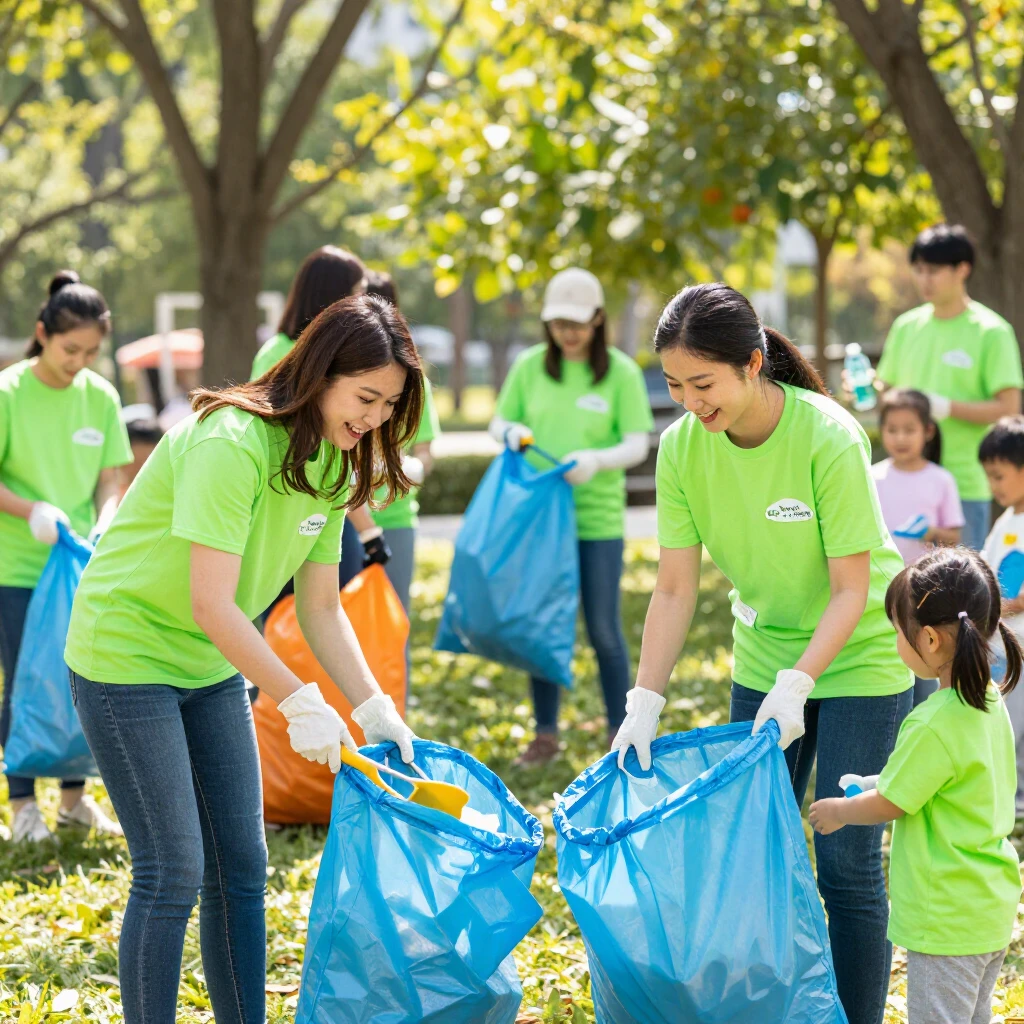
Make everyone feel welcome. Provide clear instructions and pair new volunteers with experienced ones.
Consider different abilities and ages. Have lighter tasks available. Follow basic safety guidelines—especially important for events involving tools or outdoor work.
One event taught me the value of check-in stations. They help track attendance and give volunteers a place to ask questions.
Step 7: Execute the Event
On the day, arrive early and stay calm. Greet volunteers warmly and start with a brief orientation.
Cover: - Thank everyone for coming - Explain the goal and impact - Review safety rules - Divide into teams - Set an end time
Circulate during the event to offer support and take photos (with permission). Good photos become powerful tools for future recruitment.
Step 8: Follow Up and Reflect
The work doesn't end when the event does. Send thank-you notes within 48 hours. Share results: "Thanks to you, we collected 1,200 pounds of food!"
Gather feedback through a quick survey. Ask what worked well and what to improve. This reflection strengthens future events and supports service learning.
Celebrate successes together. A simple picnic or social media shout-out builds community and encourages repeat volunteers.
Final Thoughts
Organizing a community service event takes effort, but the rewards are immense. You create real change while building connections that last. Start small, learn from each experience, and watch your impact grow. Every great volunteer movement began with someone taking that first step.